Mead Series by Mead Extraordinaire, Matt Ponkey
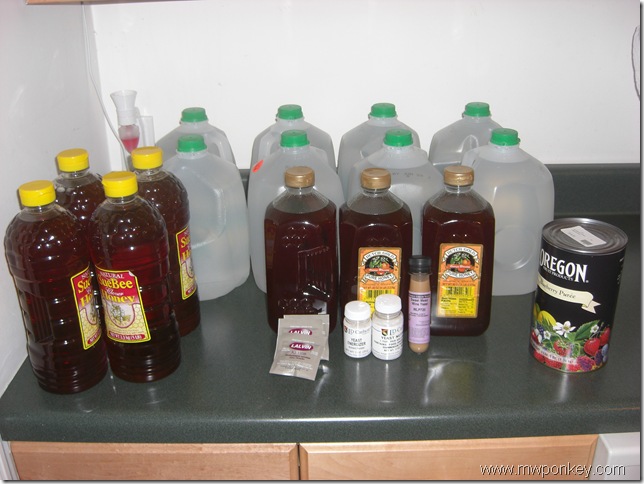
So, as I stated at the end of my last post, the two types of mead I will be brewing are a Traditional style, and Melomel style.
The recipes are:
Traditional Mead
- 4 Gallons of Distilled Water (not drinking water, I’ll explain that later)
- 15 lb Orange Blossom Honey
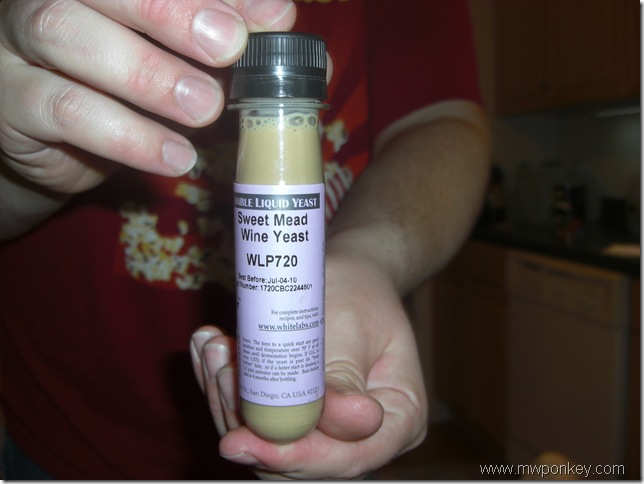
- 1 vial of White Labs WLP720 Sweet Mead/Wine Yeast
- 4 Tsp. Yeast Nutrient
- 4 Tsp. Yeast Energizer
Melomel Mead
- 4 Gallons of Distilled Water
- 18 lb Clover Honey
- 3 Packets of Lalvin K1V-1116 Montpellier
- 1 Can of Blueberry Puree
- 4 Tsp. Yeast Nutrient
- 4 Tsp. Yeast Energizer
Other equipment used:
- Two (2) 5 Gallon Glass Carboy’s with Handles
- One (1) 5 Gallon Bucket for Sanitizing
- Two (2) Size #7 Rubber Stoppers with Two (2) Air Locks
- Electric Drill
- Plastic Agitator
- LD Carlson Easy Clean
- Wine Thief
- Hydrometer
So now we have our ingredients and our required equipment. The first and most important step…and I mean…the MOST IMPORTANT step, is the sanitizing of your work area and equipment. I usually start by putting down one of those cheap plastic painters tarps (the throw away kind, trust me, its worth the extra $5), and then set to work sanitizing my equipment.
This is where the Easy Clean comes in. I prefer Easy Clean because, unlike traditional sanitation methods, it’s pretty impossible to mess up. For example, you can boil your equipment, but that would destroy some of it, and just be overall a pain in the ass. You could use a bleach solution, but you have to make sure you mix it correctly and rinse very thoroughly, otherwise you can taint your mead.
With Easy Clean, you mix to the directions on the side (1 Tablespoon per gallon of hot water) but as long as you don’t mess it up too bad, it’s no big deal. Then you just swirl it around your carboy jugs and soak you equipment in it and…BAM! Sanitized. No rinsing required.
Once all your equipment is sterilized, take a minute to wash & sterilize your hands, and you will be good to go.
Let’s Make Some Mead!
Now that your equipment is prepped, you can actually start putting together your mead.
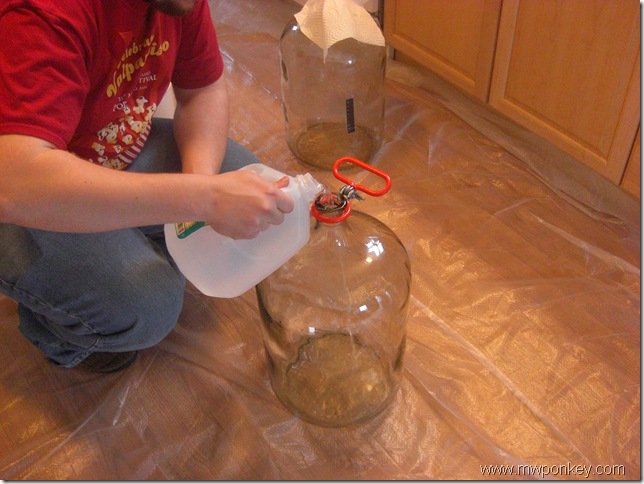
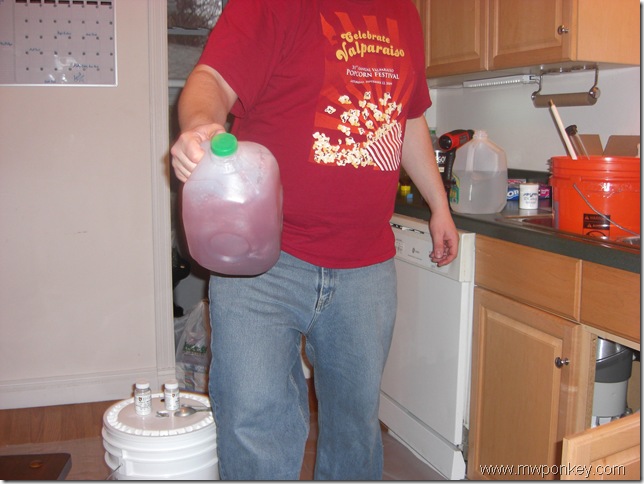
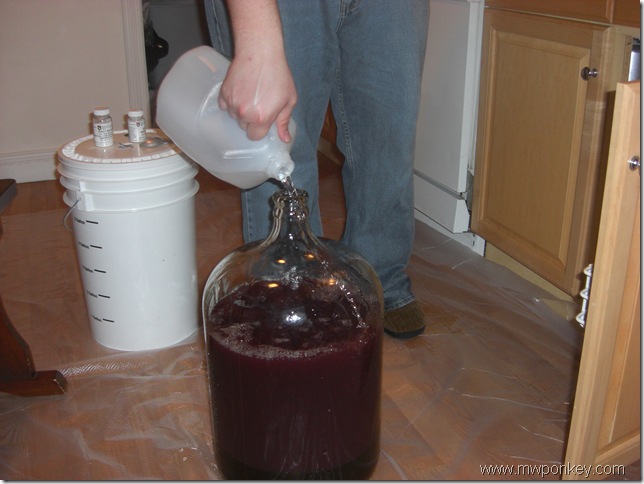
Step #1: I like to start by putting 1/2 of the water in the jug (as seen below) because it prevents the honey from sticking to the bottom of the carboy. Use distilled water, not drinking water, because drinking water contains minerals to give it a better taste when drinking; however these minerals can also taint the flavor of your mead, so make sure it’s distilled.
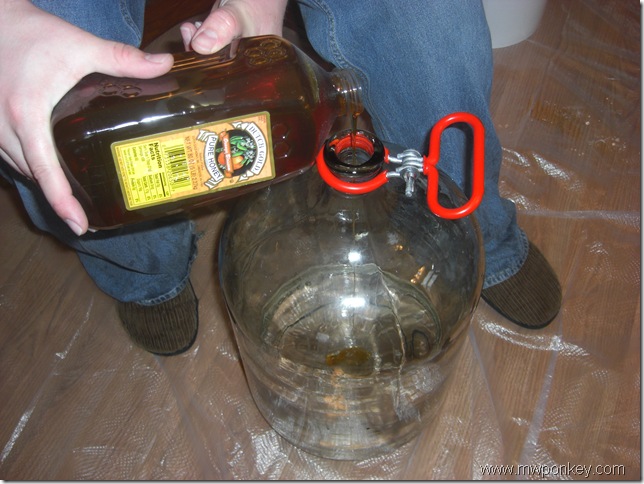
Step #2: Once you have your water in the carboy, you can begin adding your honey.
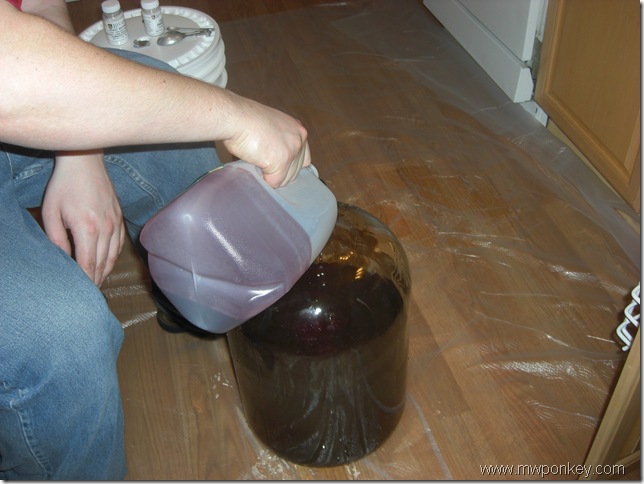
Step #3: When you’ve added all your honey, you can pour in the rest of your water. At this point in a traditional mead, we would skip ahead to step 4, but when mixing a melomel mead, this is where you would add your fruit, as seen below:
Rinse with distilled water…
And repeat until you get all the fruit…
I use 100% natural purees for a few reasons:
- Dollar for dollar you get the most fruit for your money.
- There is no chance of contamination (bad fruit, bugs, pesticides).
- There are no skins or fruit husks to skim/strain from the mead.
…but to each their own.
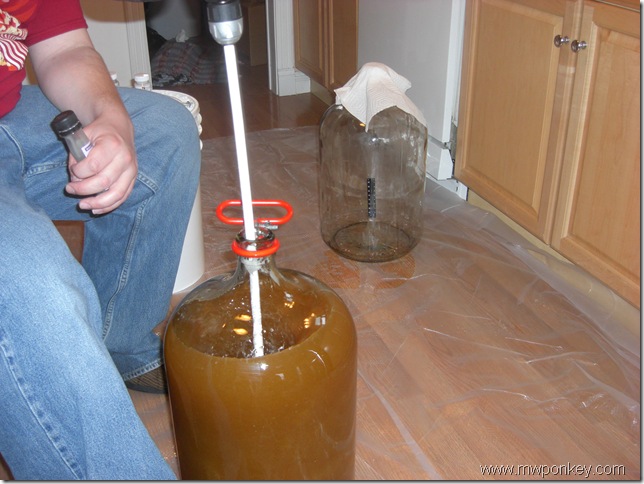
Step #4: Once this step is complete, it’s time to oxygenate your mead, or what’s known as “frothing your must”…no joke. Basically what you’re doing here is mixing the ingredients while introducing large amounts of oxygen into the mix, which is very key in giving your yeast a good start in fermentation.
[youtube=http://www.youtube.com/watch?v=D1mekuvBf88&w=640&h=390]
Notice how towards the end of the video, the agitator is pulled up and out and then reversed to really allow the air to get into the mead.
Step #5: Once this is completed, it’s time to add the yeast:
The yeast pictured above is known as liquid yeast (for obvious reasons). It is better in ways for a mead beginner because it’s pre-mixed, and all you really need to do is shake vigorously and pour in. However, it does have a significantly shorter shelf life than its dry counterpart, so decide which is best for your tastes.
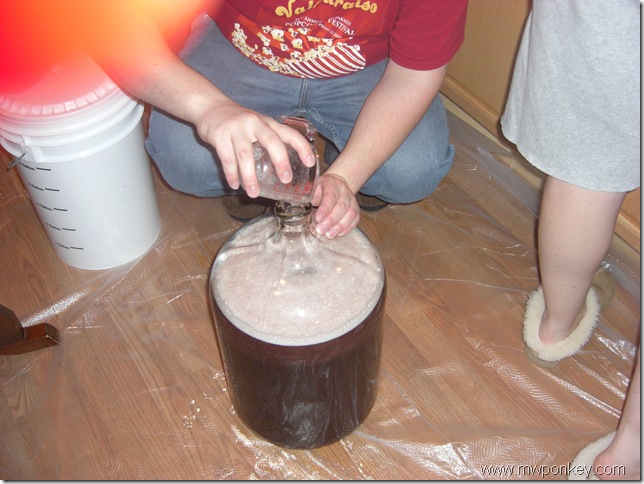
Below is the dry yeast being added after preparation (all dry packets have preparation instructions, so follow them very carefully).
Once you have added your yeast, agitate one last time…
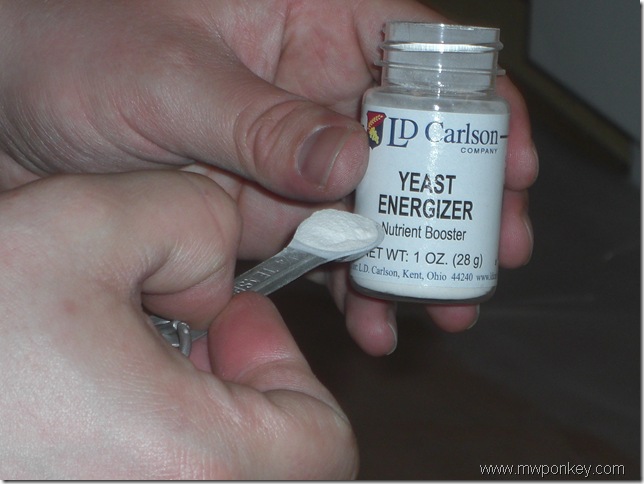
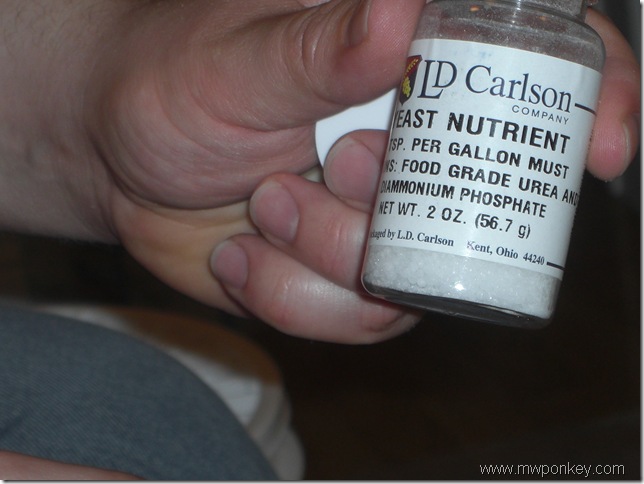
Step #6: Finally, add your yeast energizer and nutrient. Each should have mixing directions. These are both very valuable additives to your mead, as they will both kick start your yeast into action, but also provide the yeast with enough nutrients to fully complete fermentation without dying off too early.
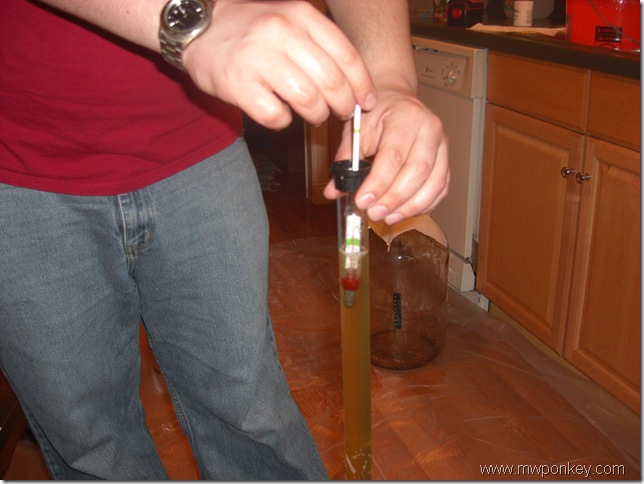
Step #7: After this final ingredient, agitate your must one more time. Use the wine thief to grab a sample of your mead for a specific gravity test. You need to get a initial and final specific gravity to determine the approximate alcohol content of the mead. The hydrometer should have a chart and instructions for determining alcohol content.
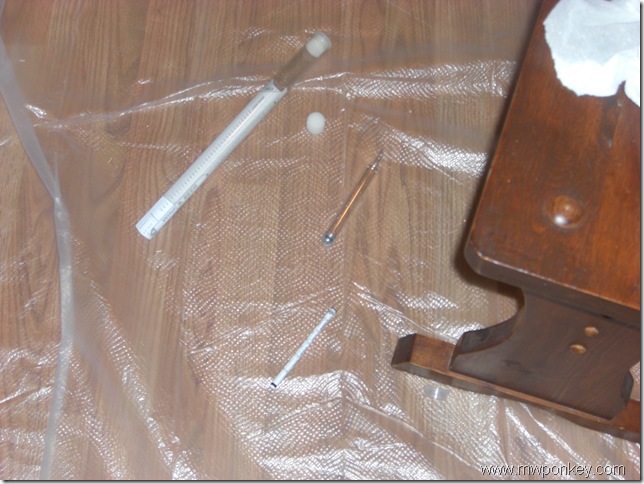
Unfortunately, I wasn’t able to get an accurate read on the initial specific gravity because I am a dumbass and dropped my hydrometer. Instead, I tried to use a fish tank hydrometer (for measuring SG of salt water tanks) to get a read, but it was very inaccurate.
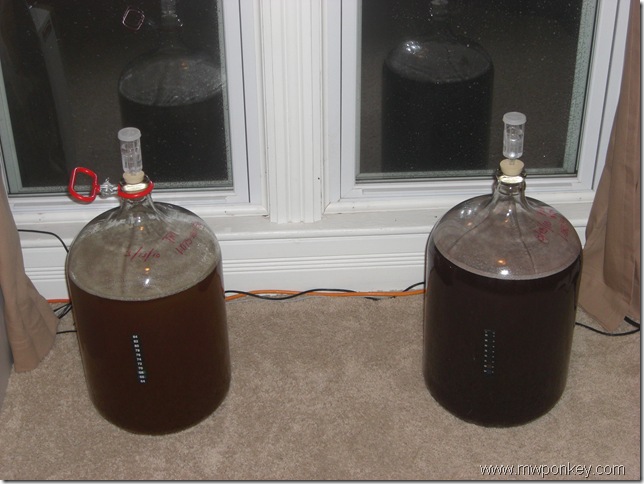
Step #8: Remove the stopper and airlock from the sanitization bath and insert into the top of your carboy. Be sure to fill the airlock with water to the designated line, and also be sure to check on the water level as fermentation goes on, to make sure there is enough water to keep the airlock.
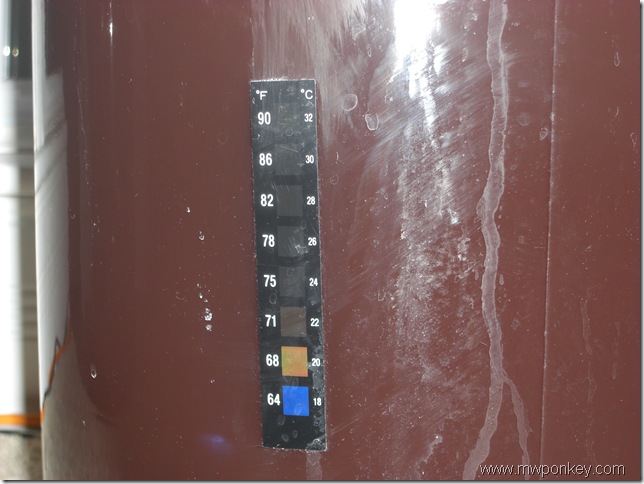
And that’s it! Be sure to keep your mead in a place that is 70° – 75°F, as this is the optimum temperature for fermentation. On-glass aquarium thermometers (the kind you see on fish tanks) come in handy for tracking the temperature of your must.
Keep your mead someplace with a decent amount of light and average room temperature.
Within 24-48 hours you should see fermentation as seen in the below video. This can last somewhere between one to three months depending on which strain of yeast used.
[youtube=http://www.youtube.com/watch?v=KU8oc1fY7hs&w=640&h=390]
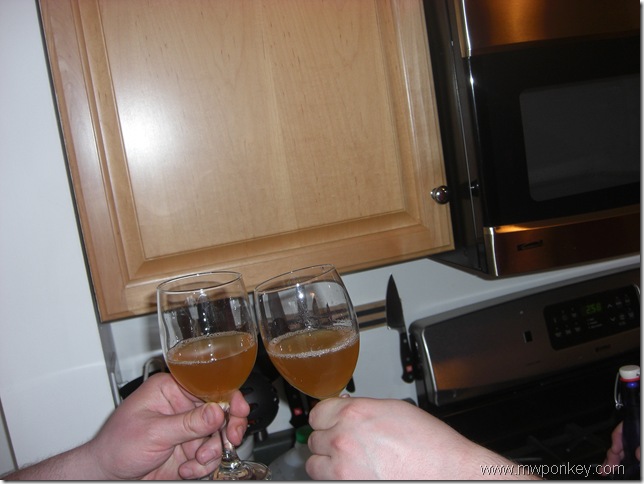
If you have any questions, feel free to email me. Thanks go out to Thomas Merritt for helping my put together these two wonderful specimens; it really does help having a partner to brew with.
Cheers!
