Category: Beer Brewing

  • On the tenth day of Christmas, Drink Matron gave to me: Beer kits for brewin’!

    Looking for a last minute gift or family project for Christmas day? Why not get a beer kit and brew some beer? Most home brew stores have small (and large, if you want to go big!) batch brewing kits that take approximately three hours to make. Here are Adrian’s and my favorites.

    Drink Matron’s Favorite

    brooklyn brew shopBrooklyn Brew Shop

    Brooklyn Brew Shop popped up a few years ago, armed with one goal: make brewing beer easy. Their one gallon beer kits give you the chance to make high quality all-grain beer no matter how small your kitchen.

    The kit includes a one gallon fermenter, bottling equipment, a thermometer, and your choice of mix for $40. You can also buy extra mixes for future brewing. Mixes included grains, hops, yeast, and and spices when needed. After that, all you need is a free afternoon and BAM! you’re making beer. They also have five gallon kits and mixes if you want more beer, and let’s be honest, who doesn’t want more beer?

    You can find kits and mixes on their website, or check your local bottle shop or local whole foods.

    Adrian’s Favorite

    midwest logoMidwest Supplies

    It’s not just one kit, it’s all kits at Midwest. They’ve got everything you need from one gallon brewing kits to kegerator parts. No matter how you want to brew, all grain or extract, they are your one stop shop, especially if you don’t have a home brew store near you.

    Midwest was the first brewing website Adrian ever used and due to the quality of their products and the integrity of the business itself, he’s remained loyal to them for nearly 10 years.

    Midwest also provides wine, cheese, liqueur, soda, coffee, mead, and hot sauce making supplies. Seriously! This site is awesome.

    Both of us recommend…

    Your local home brewing store

    If you’d like something a little more local than a website, check out your local home brewing store. They provide the product and are staffed by experts who can help you find exactly what you need, no matter your skill level.

  • Drinkmatron Labs: Get Off My Lawn (version 1) Brew Day

    This week marks a special occasion in the history of drinkmatron.prjct.info.  We finally got Drink Matron Labs off the ground with our first experimental batch of beer: Get Off My Lawn Old Ale.

    So we sat down on Saturday evening, cracked open some tasty beers and got started brewing.  GOML is an all-grain beer, so we had to mash the grains.  This was the first time I’ve ever done an all-grain beer and didn’t have anything remotely resembling a mash tun to mash the grains in.

    Enter the Australians

    I style of mashing has become hugely popular on the Australian homebrew scene called Boil In A Bag (or BIAB) where you essentially steep the grains in 150ish degree water for around an hour to activate your enzymes.  This is convenient because you don’t need a separate vessel from your boil kettle and the grain is enclosed in a big bag that you can easily pull out of the kettle and do as you please with.

    Unfortunately, you need to keep a constant eye on your temperature and wrap your kettle several blankets to keep your mash at the appropriate temperature.  By the end of my mash schedule, my mash had cooled down to 140 degrees, which is not terrible, but not ideal either.

    In the end, we locked it away inside Mr. Beer and let that yeast get to fermenting.  Stay tuned to hear how it turned out.

  • Mr. Beer Classic American Blonde Ale

    After our debacle with the Mr. Beer keg during our first batch of beer, we finally cracked open the bottles of Classic American Blonde Ale this weekend and tried them out.

    The beer poured a nice light brown with a ton of carbonation. It had a nice head that didn’t hold, but it was a good consistency. In other words, we successful poured beer rather than foam. Yay us!

    From the first taste, Adrian noticed that it was a little sweet, but we both agreed that it didn’t take away from the taste. It was refreshing and clean, light and full flavored, but for the most part, unexceptional.

    We were relieved to find that despite our issues with the keg and having to use unconventional methods for fermentation, that the beer turned out pretty good. In fact, we had an excellent Friday and Saturday night, drinking up our successful brew in its entirety.

    Next up, Cowboy Golden Lager. Adrian has sealed the leak in the keg, and we are ready to get going. We just need to be in the same place and not have 500 other things to do.

    Copyright of Drinkmatron.com.  Contact website admin to obtain permission for republication.
  • The Mr. Beer mishap

    My dad is a good Christmas gifter. He listens to what people want, and does the best he can to get exactly what they’re looking for. So, I told him that if he was going to get Adrian anything this year, to get him brewing equipment, and in my email included a link to the exact kit from Midwest Brewing Supplies that he wanted. I thought it would be a no-brainer for him, but bless his heart, he didn’t think the kit looked very “fun” and bought my experienced beer brewing boyfriend a Mr. Beer kit.

    Despite my disappointment, Adrian greeted the present graciously (since he is a good gift getter), and for about an hour after getting the kit, sat and read the directions quietly. When I asked him if he was okay with it, he was like, yeah, this is great, and began listing all the things he could use the kit for in the future after he got the equipment he really desires. He also reminded me that the kit does in fact, MAKE BEER, and even though we can’t make the recipes he’s planning, we will still have some yummy and cheap (free) beer made in our own kitchen. I was also thinking that for me, the non-experienced brewer, this might be a good introduction to the art of beer creation.

    So, not being the types to procrastinate when it comes to any alcohol, we set out to make our first batch of Mr. Beer the day after Christmas.

    We got started in the usual way, making sure everything was sanitized using the Mr. Beer no-rinse sanitizer that was provided. As I sloshed around the liquid in the “barrel” I realized that the top was leaking a bit when I turned it over. Adrian looked it over and said it wouldn’t be a problem, so we put a towel down and waited about 10 minutes to let the sanitizer take effect.

    While we waited, Adrian began preparing the boiling pot and the ingredients. The directions called to boil four cups of water with the “booster” (a bag of powdered corn syrup) and to then add the Malt Extract. We decided on the Golden Ale because, well, we wanted to drink some golden ale.

    After the sanitation was complete, Adrian looked over the barrel to see what he could do to fix it, but while he was doing that, we discovered that the spigot was also leaking – as in, the towel was now completely soaked after 10 minutes. Still, he was convinced he could fix it, so he started poking and prodding and tightening and other manly things.

    Unfortunately, after about a half an hour of truly honorable manliness, he’d exhausted all options and the barrel was still hemorrhaging the waters.

    Now, you’re probably saying, okay, big deal, get another barrel or find another something or another to put the beer in. Wait ’til tomorrow. Well, yes, that’s what we would have done, except, well, we’d already began preparing the beer. So, we had to figure out what to do with our mixture.

    There was the option of asking Matt, but we didn’t think about it until we’d already mastered the task in our own way. And what was that, you ask? The bottles. Yup. We decided to ferment our beer in the liter bottles that Mr. Beer provided for us. Armed with a turkey baster and a measuring cup, we spent an extra half an hour slowly filling up the bottles, trying to get a good mix of beer and yeast into each one, with the hope that it would be good enough.

    The bottles now wait patiently in our dining room, for the moment when we can crack them open and enjoy a tasty ale.

    Let’s see how this goes…

    Copyright of Drinkmatron.com.  Contact website admin to obtain permission for republication.
  • Introduction to Home Brewing

    One of our goals here at DrinkMatron.com is to start home brewing and bring you the results.  So the first step in this is to buy the equipment needed.

    Whether you’re making wine, beer, or mead, they all require the same basic set up and equipment.  This is because you are essentially doing the same thing for all of them: using yeast to incite the conversion of a carbohydrate into ethyl alcohol (fermentation). The only difference is in what you’re using for a base carbohydrate: in wine you’re using grapes, in mead – honey, in beer- grain.

    The following is the basic equipment needed to produce them.

    Carboys

    This is the storage container used to store fermenting liquid until it turns into a tasty adult beverage.  You can typically get these ranging in size from 5 to 15 gallons. Most beer recipes/kits are geared around a 5 gallon batch, but wine recipes/kits are geared toward 6 gallons.  So if you plan on making both wine and beer (like I do), I recommend 6 gallons.  Five gallon buckets are also an option, but while they are cheaper and easier to store, they’re also harder to clean and keep sanitized.  I personally prefer carboys over buckets.

    You can use one carboy for the entire fermentation process, but there is a process known as the two-stage process (for obvious reasons) in which you do your fermentation in 2 vessels.  There are four benefits to doing this:

    1. Moving the partially fermented liquid separates it from the waste by products of the yeast.
    2. The yeast will be exposed to oxygen, reinvigorating the fermentation process, and allowing for a more complete fermentation.
    3. Moving the liquid will cause any suspended solids to flocculate, or drop out, much quicker, leaving you with a cleaner product with significantly less sediment at the bottom of each bottle.
    4. You just freed up your primary fermentation receptacle.  Start a new batch!

    I, for one, like the two-stage fermentation process, so the Official Drink Matron Homebrew Laboratory will have two 6 gallon carboys.

    Bung

    The bung is the stopper placed in the end of the carboy to stop impurities from getting into the pre-fermented liquid and wreaking havoc on your tasty beverages.  You need to make sure to get the one with the hole in it so you have a place to put your airlock. Because one of the byproducts of fermentation is carbon dioxide, using a full bung (yes it’s as funny to write as it is to read) will cause your carboy to quickly fill with carbon dioxide and, with enough pressure, literally blow its top.

    Airlock

    The airlock is an ingenious device that allows air through in one direction, but not the other.  A three piece airlock is filled with water and as air comes in from the bottom spout into the chamber it passes through the water barrier and out the top.  This gets placed in the hole in the center of the bung (not to be confused with a Bunghole – the hole in a cask, keg, or barrel through which liquid is poured in or drained) and allows for release of carbon dioxide from the fermentation process.

    Tubing

    You need tubing for transferring your liquid (racking) from one recepticle to another.  When purchasing this tubing, you need to be sure that the diameter is the same as the diameter of the nozzles/connectors it will be attached to.  You can buy connectors that will convert between diameters, but you should only do this if you have to.  Otherwise, you are just wasting money on more things to wash and sanitize.

    Stirring Paddle

    There are a number of times throughout the fermentation process that you need to stir your concoction.  Whatever you buy to do this, make sure it fits through the bunghole into the carboy.  It’s best if you can get one that attaches to a drill for more thorough stirring.

    Bottling Wand

    This isn’t really a necessity, but bottling is a whole lot easier if you have one of these.

    It works like this:  During bottling, you will attach it to the end of the hose.  The bottom is a plunger that stops the flow of the liquid inside.  When depressed (when pushed against the bottom of the bottle) it allows the liquid to flow out and fill your bottle.  Once you lift it up again, the liquid will stop flowing.

    The bottling wand allows you to bottle your tasty creations without making a huge mess or having to create a siphon for every bottle.

    Racking Cane

    The racking cane is attached to the end of the hose and placed in the receptacle you are taking the liquid from.  Again, this isn’t necessary, but very useful.  It is capped on one end to prevent you siphoning off the yeast cake at the bottom of your carboy.

    Stainless Steel Pot

    A stainless steel pot is really only needed if you’re making beer. You’ll use it to boil all your ingredients together before starting fermentation.

    The key to the perfect steel pot is to make sure that it’s big enough to hold all the liquid you need for your wort.
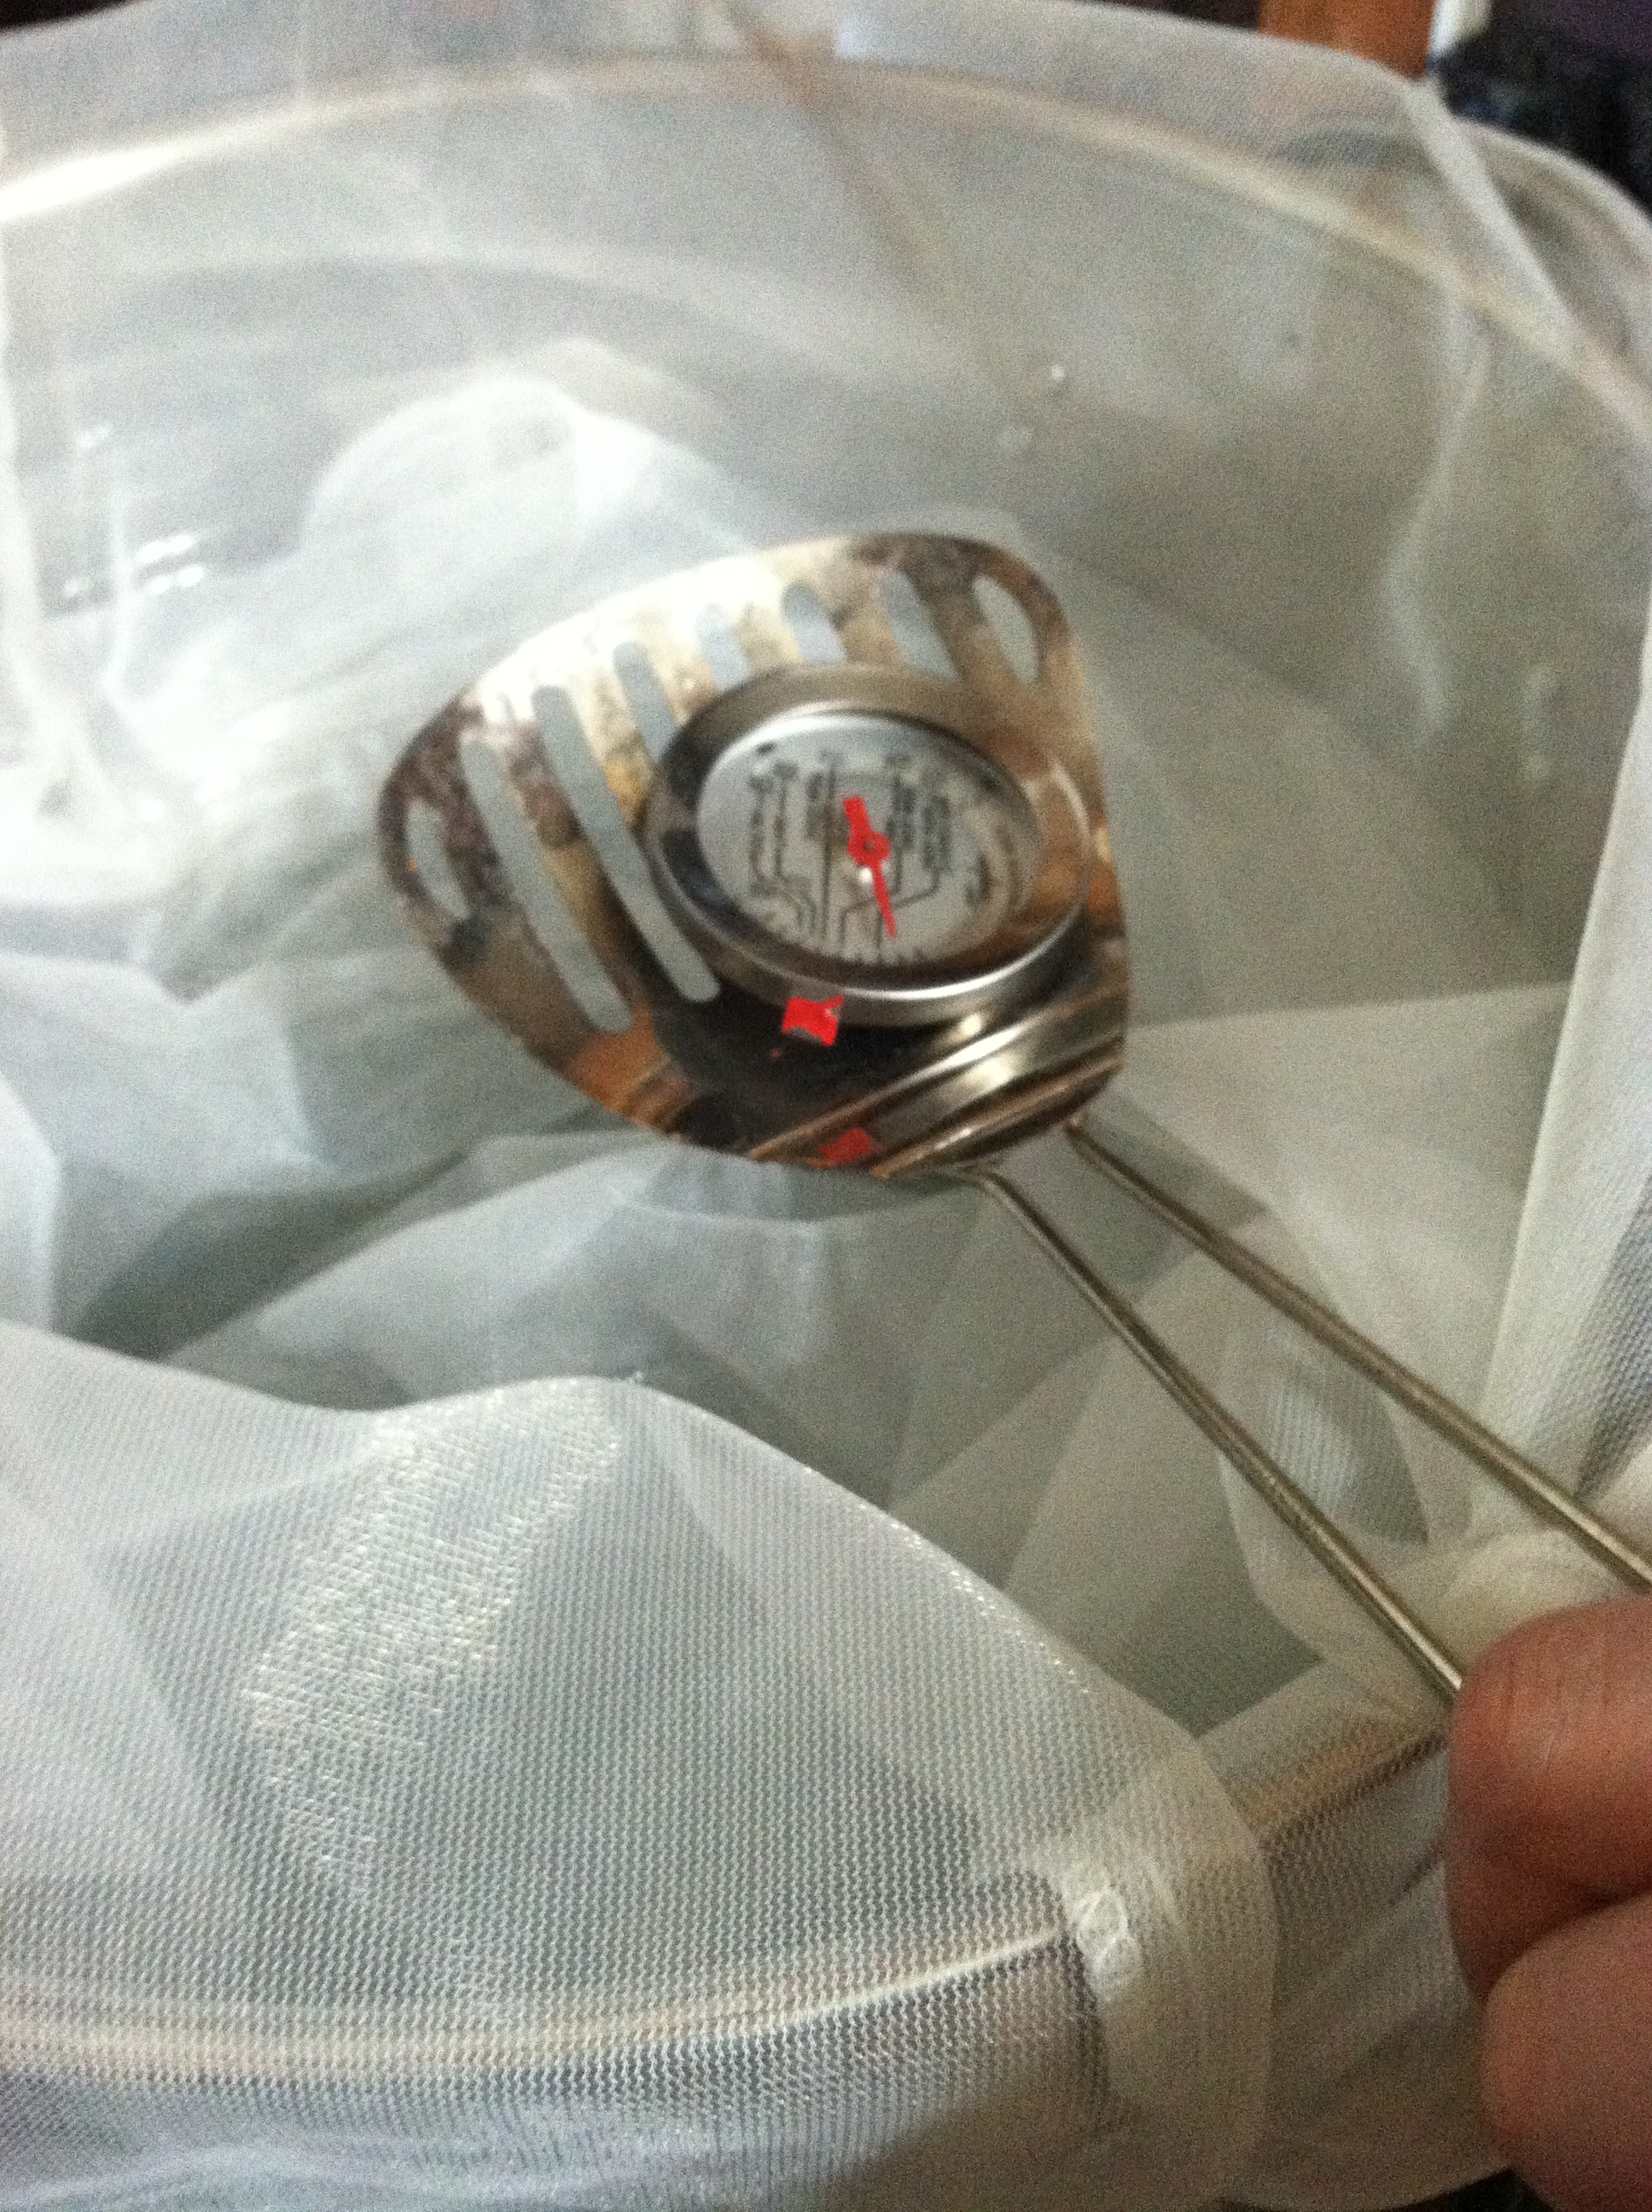
    Wort Chiller

    After boiling your wort, the key to successful beer is adding your yeast after the temperature has fallen to an appropriate level.  If you wait too long, its possible that your wort can become contaminated, which may alter the taste or aroma.  So the faster you cool it off, the less chance there is for fluctuation in the recipe.  A wort chiller solves this very elegantly.  Place the copper tubing in the pot you boiled the wort in, attach one end to the kitchen faucet and place the other end in the sink.  Run cold water at the faucet until the drain water is approximately room temperature.  This will take a few minutes (no more than five).

    Mesh Hops Bag

    For most beers, you will remove the hops from the wort before leaving it to ferment.  The easiest way to do this is with a mesh bag. Most kits will come with one, but I don’t really like the bags they provide, since they’re cheap and the holes are too big. Muslin bags work much better and are only slightly more expensive.

    Bottles

    When your stuff is done, you have to put it in something.  Beer bottles, wine bottles, kegs, mason jars, etc.  Pick something, buy enough to put all your booze in, and fill ’em up!

    Things to Stop Spillage

    Once you put your booze in bottle, you need to stop it from spilling everywhere: cap it or cork it!  Also, when you bottle your beer, the carbonation process mostly occurs after you cap the bottles.

    Bottle Capper

    This aptly named device is used to cap your bottles of beer.  To use this you place the cap on top of the bottle, place this on top and push down the handles.

    Bottle Corker

    There are many types of corkers you can buy.  I prefer the floor corker because I don’t like to work up a sweat and be sore after bottling all my booze.

    Copyright of Drinkmatron.com.  Contact website admin to obtain permission for republication.
  • Why I Brew the Beer I Drink

    Guest Post by Brian Liebau, Our own beer brewing zombie killer.

    I got started (brewing beer) because I love beer and I wanted to learn a craft that would be worthwhile after an apocalypse. No really, laugh now, but that was my initial motivation. There aren’t many other hobbies that would benefit mankind as much while civilization is being rebuilt from scratch. You’ll see. After the meteors hit and zombies are roaming the streets, I’ll be recruited into the survivor’s compound because I’ll be able to contribute to society by providing one of those few remaining things that can bring harmony and happiness. That’s granted they have access to all the necessary ingredients and tools, but we can work that out later.

    Seriously though… back to loving beer.
    If you are passionate about beer, if you’re the type who chooses a store based on the variety in their walk-in-cooler, or who makes their restaurant selection based on tapper count, who thoroughly enjoys a crisp IPA on a hot summer day, or the warm complexity of an imperial stout in the dead of winter, if you always try the local brew or select the one unknown tap that you’ve never heard of before, you should seriously think about brewing your own… and sharing it… with me.

    If you only drink weak flavored beer or your solitary goal of drinking it to get wasted, you absolutely should not try to brew… At least not until you make friends with a home brewer and let them share their passion and appreciation for good beer with you. 

    The more someone loves beer, the better the chance that they will produce some of the best heavenly barley nectar that has ever graced the lips of mankind. When you appreciate the subtle differences in hop varieties, malted grain, and yeast strains, you will fine tune your beer into that combination of flavors that you yearn for in a commercial brew but can never quite find. Like a musician or an artist with a blank canvas, you can build your masterpiece into an exact concerto for your tongue, a Monet for your olfactory. Sure it takes a bit of luck, knowledge, and experience but that process is part of the enjoyment. The achievement, surprise, and heartbreak encountered after hours bent over a boiling pot and weeks after watching your yeast bubble away is the dream of any grown adult who had a chemistry set as a kid. Plus it’s lots of fun when your neighbors come over to ask if what you’re doing is legal or if you’re cooking meth. Then the day comes when you can pour your creation into a glass after you’ve meticulously planned its composition and devoutly tended its maturation until it finally rolls around your mouth and warms your belly… the smile on your face in that moment is the pure happiness of home brewing. Just remember, happiness is only worthwhile when shared!

    Enough of that… back to those zombies.
    Don’t fool yourself, when mankind is rebuilding after the next great flood, those who know how to produce food, ammunition, and alcohol will be the ones who survive and thrive. Mostly, it will be those with ammunition, but I’m not that great of a shot and I’ve never had a green thumb, so I’ll stick to what I’m good at. Humans have relied on beer for the majority of civilization, especially when sanitary water conditions weren’t always available. Trust me on this one, anyone facing hordes of brain eating walking dead or bands of crazed pillaging marauders will really need a beer after a long day.

    Some of Brian's homemade brew – Blonde Ale, Dark Honey Wheat, Hoppy Amber Ale, Apfelwein
    Copyright of Brian Liebau.  Contact the author to obtain permission for republication.