Category: Crafting

Not satisfied with drinking the tasty craft brews and fabulous wines on the shelves of the local grocery and liquor stores, we, and many of our friends have taken to making their own spirituous concoctions.

Through copious amounts of bribery involving fame, glory and several large bar tabs, we’ve convinced them to write their experiences for us here. They don’t know that we’re lying. Hope you enjoy!

If you’d like to tell us about your own home brewing experience, please email us at drinkmatron@gmail.com.

  • Drinkmatron Labs: Get Off My Lawn (version 1) Brew Day

    This week marks a special occasion in the history of drinkmatron.prjct.info.  We finally got Drink Matron Labs off the ground with our first experimental batch of beer: Get Off My Lawn Old Ale.

    So we sat down on Saturday evening, cracked open some tasty beers and got started brewing.  GOML is an all-grain beer, so we had to mash the grains.  This was the first time I’ve ever done an all-grain beer and didn’t have anything remotely resembling a mash tun to mash the grains in.

    Enter the Australians

    I style of mashing has become hugely popular on the Australian homebrew scene called Boil In A Bag (or BIAB) where you essentially steep the grains in 150ish degree water for around an hour to activate your enzymes.  This is convenient because you don’t need a separate vessel from your boil kettle and the grain is enclosed in a big bag that you can easily pull out of the kettle and do as you please with.

    Unfortunately, you need to keep a constant eye on your temperature and wrap your kettle several blankets to keep your mash at the appropriate temperature.  By the end of my mash schedule, my mash had cooled down to 140 degrees, which is not terrible, but not ideal either.

    In the end, we locked it away inside Mr. Beer and let that yeast get to fermenting.  Stay tuned to hear how it turned out.

  • Bacon Infused Scotch

    Scotch week has come at a very inconvenient time for us, since we’re broke and Scotch costs money. This further inconveniences me because I was excited to do some infusing of bacon and Scotch and tell you all about it.

    I got the idea from a spectacular website called baconscotch.info, a site run by some seriously brilliant folks who love bacon and Scotch. They in turn found a recipe for bacon infused Scotch from Girl + Fire = Food, that makes even my less-than-thrilled-about-Scotch tastebuds poke me in anticipation.

    So, even though I won’t be infusing anything this week (eventually I will though, and explain every exciting detail), I thought I’d share the recipe with my (possibly) better funded readers. If you do make it, please send me pics or a review of how it turns out and I’ll post it here!

    via [http://www.baconscotch.info/?tag=bacon-infused-scotch]

    Bacon Infused Scotch

    3-4 strips fatty bacon
    1 tablespoon freshly rendered bacon fat
    1 bottle of scotch

    1. Fry up the bacon. Save a tablespoon of bacon fat. Eat the bacon. (If 3-4 strips doesn’t give you a full tablespoon, fry some more!)

    2. Pour the scotch into a clean, wide-mouth container. You don’t want to put the bacon fat in the alcohol’s original bottle because some might get stuck in there, which leads to floating fat globules and that’s not pretty.

    3. Let the mixture marinate overnight.

    4. The next morning, stash the mixture in the freezer. Scotch doesn’t freeze, but the fat will. After a few hours, the fat will be solid, making it very easy to fish out. Even easier if you used a wide-mouth container.

    5. Strain the alcohol back into its original bottle.

    Drink up my lovelies! (that’s from me, DM)

  • In the Kitchen: Sour Mix

    Let’s face it, you can’t really talk about tequila and not talk about sour mix. It is a key ingredient in the margarita, the most popular tequila cocktail, and even if you don’t like tequila on its own, adding a little sour mix will always give the sandy liquor a more agreeable taste.

    Making your own sour mix, or bar mix as it is commonly called, is a simple and great way to ensure that it’s always on hand, just in case of the last minute margarita munchies.

    To make sour mix, you’ll need:

    • 1.5 cups of granulated sugar
    • 2 cups of water
    • 1 cup of fresh lemon juice (approx. 5 lemons)
    • 1 cup of fresh lime juice (approx. 8 limes)

    Please note that by fresh we mean freshly squeezed lemon and lime juice. Hopefully, you have a juicer. We do not. I had an amazing arm work out the day we made this.

    After you’ve juiced the lemons and limes, combine the sugar and water in a medium saucepan. Bring to a boil, stirring until sugar has dissolved completely (you will know that the sugar has dissolved completely when the water is totally clear).

    In a jug, combine the hot sugar water with the lemon and lime juice. Let it cool and then chill.

    Copyright of Drinkmatron.com.  Contact website admin to obtain permission for republication.
  • Mr. Beer Classic American Blonde Ale

    After our debacle with the Mr. Beer keg during our first batch of beer, we finally cracked open the bottles of Classic American Blonde Ale this weekend and tried them out.

    The beer poured a nice light brown with a ton of carbonation. It had a nice head that didn’t hold, but it was a good consistency. In other words, we successful poured beer rather than foam. Yay us!

    From the first taste, Adrian noticed that it was a little sweet, but we both agreed that it didn’t take away from the taste. It was refreshing and clean, light and full flavored, but for the most part, unexceptional.

    We were relieved to find that despite our issues with the keg and having to use unconventional methods for fermentation, that the beer turned out pretty good. In fact, we had an excellent Friday and Saturday night, drinking up our successful brew in its entirety.

    Next up, Cowboy Golden Lager. Adrian has sealed the leak in the keg, and we are ready to get going. We just need to be in the same place and not have 500 other things to do.

    Copyright of Drinkmatron.com.  Contact website admin to obtain permission for republication.
  • In the Kitchen: Limoncello

    Limoncello is an Italian digestif liqueur originating in the southern coastal Amalfi region of Italy. Usually served ice cold in chilled ceramic cups or shot glasses, this liqueur is great as a refreshing after dinner drink, or just for fun.

    The most distinctive thing about limoncello is its bright yellow coloring. The coloring is based on the infusion of the outer zest (peels) from lemons and grain alcohol, Everclear, Italian grappa or vodka. While it is bottled and sold commercially, making your own limoncello can be a very simple process.

    While there are many limoncello recipes, we’ve decided to use Food Network’s Chef Giada De Laurentiis recipe. It will take less than one week to complete the process, compared to some more traditional recipes that take up to two months.

    The ingredients for Limoncello are simple: zests from 10 lemons, a 750mL bottle of vodka, and simple syrup.

    Peel the lemons and remove all the excess pith from the inside. Removing the pith is important, as it will keep the limoncello from getting a bitter taste.

    After the zests are ready, place them in a pitcher and pour in the vodka. Cover and let the mixture soak at room temperature for four days.

    After four days, prepare the simple syrup and combine it with the vodka mixture. Let it set overnight, then strain the mixture through a mesh strainer and discard the peels. Bottle the limoncello and chill for a minimum of four hours before serving.

    Copyright of Drinkmatron.com.  Contact website admin to obtain permission for republication.
  • The Mr. Beer mishap

    My dad is a good Christmas gifter. He listens to what people want, and does the best he can to get exactly what they’re looking for. So, I told him that if he was going to get Adrian anything this year, to get him brewing equipment, and in my email included a link to the exact kit from Midwest Brewing Supplies that he wanted. I thought it would be a no-brainer for him, but bless his heart, he didn’t think the kit looked very “fun” and bought my experienced beer brewing boyfriend a Mr. Beer kit.

    Despite my disappointment, Adrian greeted the present graciously (since he is a good gift getter), and for about an hour after getting the kit, sat and read the directions quietly. When I asked him if he was okay with it, he was like, yeah, this is great, and began listing all the things he could use the kit for in the future after he got the equipment he really desires. He also reminded me that the kit does in fact, MAKE BEER, and even though we can’t make the recipes he’s planning, we will still have some yummy and cheap (free) beer made in our own kitchen. I was also thinking that for me, the non-experienced brewer, this might be a good introduction to the art of beer creation.

    So, not being the types to procrastinate when it comes to any alcohol, we set out to make our first batch of Mr. Beer the day after Christmas.

    We got started in the usual way, making sure everything was sanitized using the Mr. Beer no-rinse sanitizer that was provided. As I sloshed around the liquid in the “barrel” I realized that the top was leaking a bit when I turned it over. Adrian looked it over and said it wouldn’t be a problem, so we put a towel down and waited about 10 minutes to let the sanitizer take effect.

    While we waited, Adrian began preparing the boiling pot and the ingredients. The directions called to boil four cups of water with the “booster” (a bag of powdered corn syrup) and to then add the Malt Extract. We decided on the Golden Ale because, well, we wanted to drink some golden ale.

    After the sanitation was complete, Adrian looked over the barrel to see what he could do to fix it, but while he was doing that, we discovered that the spigot was also leaking – as in, the towel was now completely soaked after 10 minutes. Still, he was convinced he could fix it, so he started poking and prodding and tightening and other manly things.

    Unfortunately, after about a half an hour of truly honorable manliness, he’d exhausted all options and the barrel was still hemorrhaging the waters.

    Now, you’re probably saying, okay, big deal, get another barrel or find another something or another to put the beer in. Wait ’til tomorrow. Well, yes, that’s what we would have done, except, well, we’d already began preparing the beer. So, we had to figure out what to do with our mixture.

    There was the option of asking Matt, but we didn’t think about it until we’d already mastered the task in our own way. And what was that, you ask? The bottles. Yup. We decided to ferment our beer in the liter bottles that Mr. Beer provided for us. Armed with a turkey baster and a measuring cup, we spent an extra half an hour slowly filling up the bottles, trying to get a good mix of beer and yeast into each one, with the hope that it would be good enough.

    The bottles now wait patiently in our dining room, for the moment when we can crack them open and enjoy a tasty ale.

    Let’s see how this goes…

    Copyright of Drinkmatron.com.  Contact website admin to obtain permission for republication.
  • Working & Playing Hard at Dogfish Head

    Today is Crafting Day on my calendar, and since we don’t have an article from Matt, Brian or Adrian, I thought I’d talk a little bit about one of my favorite craft brewers, Sam Calagione.

    Now, many of you may know Sam because of his new show, “Brew Masters”, which follows the day to day happenings of Calagione’s brewery, Dogfish Head. It’s a fun show, and it’s endeared me to Sam even more than I already was. For the record, I was familiar with Calagione prior to the show, and have been a big fan of Dogfish Head not only because of their beer, but because of Calagione’s attitude toward his business and life in general.

    I am a big supporter of work hard, play hard, and the staff of Dogfish Head seems to have that down to a science. It’s impressive to see a group of people who clearly care about the product going out and clearly love going to work everyday. And from what I’ve seen, I believe it has everything to do with the excellent work environment offered at Dogfish Head. Calagione seems to have high expectations that the people that work for him care about what they’re doing, but he also allows a high amount of creativity, silliness, and fun throughout the day. Despite the fact that good beer is serious business, how serious can you be when you work for a brewery that’s catch phrase is “Off-Centered Ales for Off-Centered People”?  That kind of open atmosphere has got to make working for Dogfish Head one of the best jobs out there.

    I’ve heard a few reviews from people who dislike “Brew Masters” because they find Calagione a bit, well, off-centered. Well, to them I say, lighten up.  You’d be that excited about life too if you were living your dream – or even if you just had that freaking tree house!

    Copyright of Drinkmatron.com.  Contact website admin to obtain permission for republication.
  • Introduction to Home Brewing

    One of our goals here at DrinkMatron.com is to start home brewing and bring you the results.  So the first step in this is to buy the equipment needed.

    Whether you’re making wine, beer, or mead, they all require the same basic set up and equipment.  This is because you are essentially doing the same thing for all of them: using yeast to incite the conversion of a carbohydrate into ethyl alcohol (fermentation). The only difference is in what you’re using for a base carbohydrate: in wine you’re using grapes, in mead – honey, in beer- grain.

    The following is the basic equipment needed to produce them.

    Carboys

    This is the storage container used to store fermenting liquid until it turns into a tasty adult beverage.  You can typically get these ranging in size from 5 to 15 gallons. Most beer recipes/kits are geared around a 5 gallon batch, but wine recipes/kits are geared toward 6 gallons.  So if you plan on making both wine and beer (like I do), I recommend 6 gallons.  Five gallon buckets are also an option, but while they are cheaper and easier to store, they’re also harder to clean and keep sanitized.  I personally prefer carboys over buckets.

    You can use one carboy for the entire fermentation process, but there is a process known as the two-stage process (for obvious reasons) in which you do your fermentation in 2 vessels.  There are four benefits to doing this:

    1. Moving the partially fermented liquid separates it from the waste by products of the yeast.
    2. The yeast will be exposed to oxygen, reinvigorating the fermentation process, and allowing for a more complete fermentation.
    3. Moving the liquid will cause any suspended solids to flocculate, or drop out, much quicker, leaving you with a cleaner product with significantly less sediment at the bottom of each bottle.
    4. You just freed up your primary fermentation receptacle.  Start a new batch!

    I, for one, like the two-stage fermentation process, so the Official Drink Matron Homebrew Laboratory will have two 6 gallon carboys.

    Bung

    The bung is the stopper placed in the end of the carboy to stop impurities from getting into the pre-fermented liquid and wreaking havoc on your tasty beverages.  You need to make sure to get the one with the hole in it so you have a place to put your airlock. Because one of the byproducts of fermentation is carbon dioxide, using a full bung (yes it’s as funny to write as it is to read) will cause your carboy to quickly fill with carbon dioxide and, with enough pressure, literally blow its top.

    Airlock

    The airlock is an ingenious device that allows air through in one direction, but not the other.  A three piece airlock is filled with water and as air comes in from the bottom spout into the chamber it passes through the water barrier and out the top.  This gets placed in the hole in the center of the bung (not to be confused with a Bunghole – the hole in a cask, keg, or barrel through which liquid is poured in or drained) and allows for release of carbon dioxide from the fermentation process.

    Tubing

    You need tubing for transferring your liquid (racking) from one recepticle to another.  When purchasing this tubing, you need to be sure that the diameter is the same as the diameter of the nozzles/connectors it will be attached to.  You can buy connectors that will convert between diameters, but you should only do this if you have to.  Otherwise, you are just wasting money on more things to wash and sanitize.

    Stirring Paddle

    There are a number of times throughout the fermentation process that you need to stir your concoction.  Whatever you buy to do this, make sure it fits through the bunghole into the carboy.  It’s best if you can get one that attaches to a drill for more thorough stirring.

    Bottling Wand

    This isn’t really a necessity, but bottling is a whole lot easier if you have one of these.

    It works like this:  During bottling, you will attach it to the end of the hose.  The bottom is a plunger that stops the flow of the liquid inside.  When depressed (when pushed against the bottom of the bottle) it allows the liquid to flow out and fill your bottle.  Once you lift it up again, the liquid will stop flowing.

    The bottling wand allows you to bottle your tasty creations without making a huge mess or having to create a siphon for every bottle.

    Racking Cane

    The racking cane is attached to the end of the hose and placed in the receptacle you are taking the liquid from.  Again, this isn’t necessary, but very useful.  It is capped on one end to prevent you siphoning off the yeast cake at the bottom of your carboy.

    Stainless Steel Pot

    A stainless steel pot is really only needed if you’re making beer. You’ll use it to boil all your ingredients together before starting fermentation.

    The key to the perfect steel pot is to make sure that it’s big enough to hold all the liquid you need for your wort.

    Wort Chiller

    After boiling your wort, the key to successful beer is adding your yeast after the temperature has fallen to an appropriate level.  If you wait too long, its possible that your wort can become contaminated, which may alter the taste or aroma.  So the faster you cool it off, the less chance there is for fluctuation in the recipe.  A wort chiller solves this very elegantly.  Place the copper tubing in the pot you boiled the wort in, attach one end to the kitchen faucet and place the other end in the sink.  Run cold water at the faucet until the drain water is approximately room temperature.  This will take a few minutes (no more than five).

    Mesh Hops Bag

    For most beers, you will remove the hops from the wort before leaving it to ferment.  The easiest way to do this is with a mesh bag. Most kits will come with one, but I don’t really like the bags they provide, since they’re cheap and the holes are too big. Muslin bags work much better and are only slightly more expensive.

    Bottles

    When your stuff is done, you have to put it in something.  Beer bottles, wine bottles, kegs, mason jars, etc.  Pick something, buy enough to put all your booze in, and fill ’em up!

    Things to Stop Spillage

    Once you put your booze in bottle, you need to stop it from spilling everywhere: cap it or cork it!  Also, when you bottle your beer, the carbonation process mostly occurs after you cap the bottles.

    Bottle Capper

    This aptly named device is used to cap your bottles of beer.  To use this you place the cap on top of the bottle, place this on top and push down the handles.

    Bottle Corker

    There are many types of corkers you can buy.  I prefer the floor corker because I don’t like to work up a sweat and be sore after bottling all my booze.

    Copyright of Drinkmatron.com.  Contact website admin to obtain permission for republication.
  • Brewing Mead Part #3: Fermentation

    Mead Series by Mead Extraordinaire, Matt Ponkey

    Once you’ve prepared your must, you should start seeing fermentation with 24-48 hours.

    Fermentation

    Fermentation is the basic process of yeast turning sugar into ethanol & carbon dioxide.

    The basic reaction for fermentation is:
    C6H12O6 → 2C2H5OH + 2CO2

    Glucose (sugar) is represented by C6H12O6, Ethanol (booze) is represented by C2H5OH, & Carbon dioxide is represented by CO2

    What this basically means is for every 1 part of sugar, the yeast churns out 2 parts ethanol and 2 parts carbon dioxide gas.

    Yeast

    Yeast comes in two forms.  Naturally occurring yeast, like the kind found in most fruit juices, and synthetic yeast.  The best example of natural yeast is the kind that forms from leaving a gallon of apple cider in the fridge for a month or two.  Synthetic yeast is used to make wine, mead, or beer, and is much more stable than natural yeast.  Alcohol can still be produced from natural yeast, but it is more susceptible to bacterial contamination.

    Sugar

    Glucose, or sugar, is the main ingredient for fermentation. In traditional wine making, grapes are used as the primary source of sugar. The grapes are crushed to release the juices stored inside them, which are rich in natural sugars. Different grapes produce different flavors and variations within the resulting wine. Riesling grapes produce a sweet, white wine, because they are a sweet white grape. Syrah or Shiraz grapes produce a dark, dry red wine due to their coloring & sugar content.

    In mead, the process is almost identical. Honey is used as the primary source of sugar, so the type of honey you choose will have a major effect on how your mead tastes in the end. For example, I am using an Orange Blossom Honey, which is harvested from bees that primarily pollinate around Orange Groves in Florida. This honey should produce a mild orange flavor in the resulting mead.

    Temperature

    In reaction chemistry, the hotter the environment, the faster the rate of reaction. The best and easiest example I’ve found is dissolving sugar in water. What dissolves the sugar quicker, hot or cold water?  For anyone who drinks coffee or tea, the obvious answer is the hot water. The heat of the water increases the rate at which the sugar dissolves into it. The same principal stands for chemical reactions.

    This raises some important points. Previously I had mentioned that you should keep your mead in an area between 70°F-75°F. This was the proper temperature for the yeast strains I was using, however just like people, different yeasts prefer different temperatures. For example, some yeasts prefer a temperature range of 64°F – 68°F, which is too low for the strain of yeast I used. The important thing to remember is that the higher the temperature of your mead, the quicker the fermentation reaction occurs. Although this can increase rate of fermentation, potentially speeding up the overall process, try not to raise the temperature on your mead is too high. This can work the yeast so hard that it will die prematurely, cause such rapid fermentation that will break your airlock, or worse yet, foster bacterial growth within your mead.

    Bacteria

    Bacterial contamination is one of the greatest threats to your mead. Bacterial growth, at any stage, can easily ruin a batch, however if it occurs during fermentation, failure is almost guaranteed. The best way to prevent bacterial contamination is proper sterilization of equipment and working areas during all stages of brewing.

    In the end, keep a close eye on your mead throughout the fermentation step, as it is probably the most critical to the success of your mead. The best way to tell if fermentation is complete is to look at your airlock. When it’s complete, no more carbon dioxide will be produced, so you won’t see anymore bubbles coming through your airlock. If you have a glass fermentor, it’s very easy to tell if your fermentation is complete simply by looking at your mead. During fermentation, you should see very small bubbles rising to the surface, and the surface of the mead should be a frothy mess of bubbles. After fermentation is complete, the bubbles will no longer rise to the surface, and the surface will be completely still. If you bump your fermentor and see any activity or bubbles, this does not mean you restarted fermentation, it only means that you released some trapped carbon dioxide.

    As always, if you have any questions, feel free to email me.

    Best of luck!

    Used with permission from Matt Ponkey.  You can find the original post at http://www.mwponkey.com/2010/10/brewing-mead-part-3-fermentation.html. Contact the author to obtain permission for republication.
  • Brewing Mead Part #2: Starting Your Mead

    Mead Series by Mead Extraordinaire, Matt Ponkey

    So, as I stated at the end of my last post, the two types of mead I will be brewing are a Traditional style, and Melomel style.

    The recipes are:

    Traditional Mead

    • 4 Gallons of Distilled Water (not drinking water, I’ll explain that later)
    • 15 lb Orange Blossom Honey
    • 1 vial of White Labs WLP720 Sweet Mead/Wine Yeast
    • 4 Tsp. Yeast Nutrient
    • 4 Tsp. Yeast Energizer

    Melomel Mead

    • 4 Gallons of Distilled Water
    • 18 lb Clover Honey
    • 3 Packets of Lalvin K1V-1116 Montpellier
    • 1 Can of Blueberry Puree
    • 4 Tsp. Yeast Nutrient
    • 4 Tsp. Yeast Energizer

    The Ingredients

    Other equipment used:

    • Two (2) 5 Gallon Glass Carboy’s with Handles
    • One (1) 5 Gallon Bucket for Sanitizing
    • Two (2) Size #7 Rubber Stoppers with Two (2) Air Locks
    • Electric Drill
    • Plastic Agitator
    • LD Carlson Easy Clean
    • Wine Thief
    • Hydrometer

    So now we have our ingredients and our required equipment.  The first and most important step…and I mean…the MOST IMPORTANT step, is the sanitizing of your work area and equipment. I usually start by putting down one of those cheap plastic painters tarps (the throw away kind, trust me, its worth the extra $5), and then set to work sanitizing my equipment.

    This is where the Easy Clean comes in. I prefer Easy Clean because, unlike traditional sanitation methods, it’s pretty impossible to mess up. For example, you can boil your equipment, but that would destroy some of it, and just be overall a pain in the ass. You could use a bleach solution, but you have to make sure you mix it correctly and rinse very thoroughly, otherwise you can taint your mead.

    With Easy Clean, you mix to the directions on the side (1 Tablespoon per gallon of hot water) but as long as you don’t mess it up too bad, it’s no big deal. Then you just swirl it around your carboy jugs and soak you equipment in it and…BAM! Sanitized. No rinsing required.

    Once all your equipment is sterilized, take a minute to wash & sterilize your hands, and you will be good to go.

    Let’s Make Some Mead!

    Now that your equipment is prepped, you can actually start putting together your mead.

    Step #1: I like to start by putting 1/2 of the water in the jug (as seen below) because it prevents the honey from sticking to the bottom of the carboy. Use distilled water, not drinking water, because drinking water contains minerals to give it a better taste when drinking; however these minerals can also taint the flavor of your mead, so make sure it’s distilled.

    Adding your distilled water

    Step #2: Once you have your water in the carboy, you can begin adding your honey.

    Adding the Honey

    Step #3: When you’ve added all your honey, you can pour in the rest of your water. At this point in a traditional mead, we would skip ahead to step 4, but when mixing a melomel mead, this is where you would add your fruit, as seen below:

    Adding the Fruit

    Rinse with distilled water…

    Distilled Water Rinse

    And repeat until you get all the fruit…

    All the fruit added...

    I use 100% natural purees for a few reasons:

    1. Dollar for dollar you get the most fruit for your money.
    2. There is no chance of contamination (bad fruit, bugs, pesticides).
    3. There are no skins or fruit husks to skim/strain from the mead.

    …but to each their own.

    Step #4: Once this step is complete, it’s time to oxygenate your mead, or what’s known as “frothing your must”…no joke. Basically what you’re doing here is mixing the ingredients while introducing large amounts of oxygen into the mix, which is very key in giving your yeast a good start in fermentation.

    [youtube=http://www.youtube.com/watch?v=D1mekuvBf88&w=640&h=390]

    Notice how towards the end of the video, the agitator is pulled up and out and then reversed to really allow the air to get into the mead.

    Step #5: Once this is completed, it’s time to add the yeast:

    Liquid Yeast

    The yeast pictured above is known as liquid yeast (for obvious reasons). It is better in ways for a mead beginner because it’s pre-mixed, and all you really need to do is shake vigorously and pour in. However, it does have a significantly shorter shelf life than its dry counterpart, so decide which is best for your tastes.

    Below is the dry yeast being added after preparation (all dry packets have preparation instructions, so follow them very carefully).

    Adding the dry yeast mixture

    Once you have added your yeast, agitate one last time…

    Mixing in the yeast

    Step #6: Finally, add your yeast energizer and nutrient. Each should have mixing directions. These are both very valuable additives to your mead, as they will both kick start your yeast into action, but also provide the yeast with enough nutrients to fully complete fermentation without dying off too early.

    Yeast Energizer (1 tsp per gallon of must)

    Yeast Nutrient (1 tsp. per gallon of must)

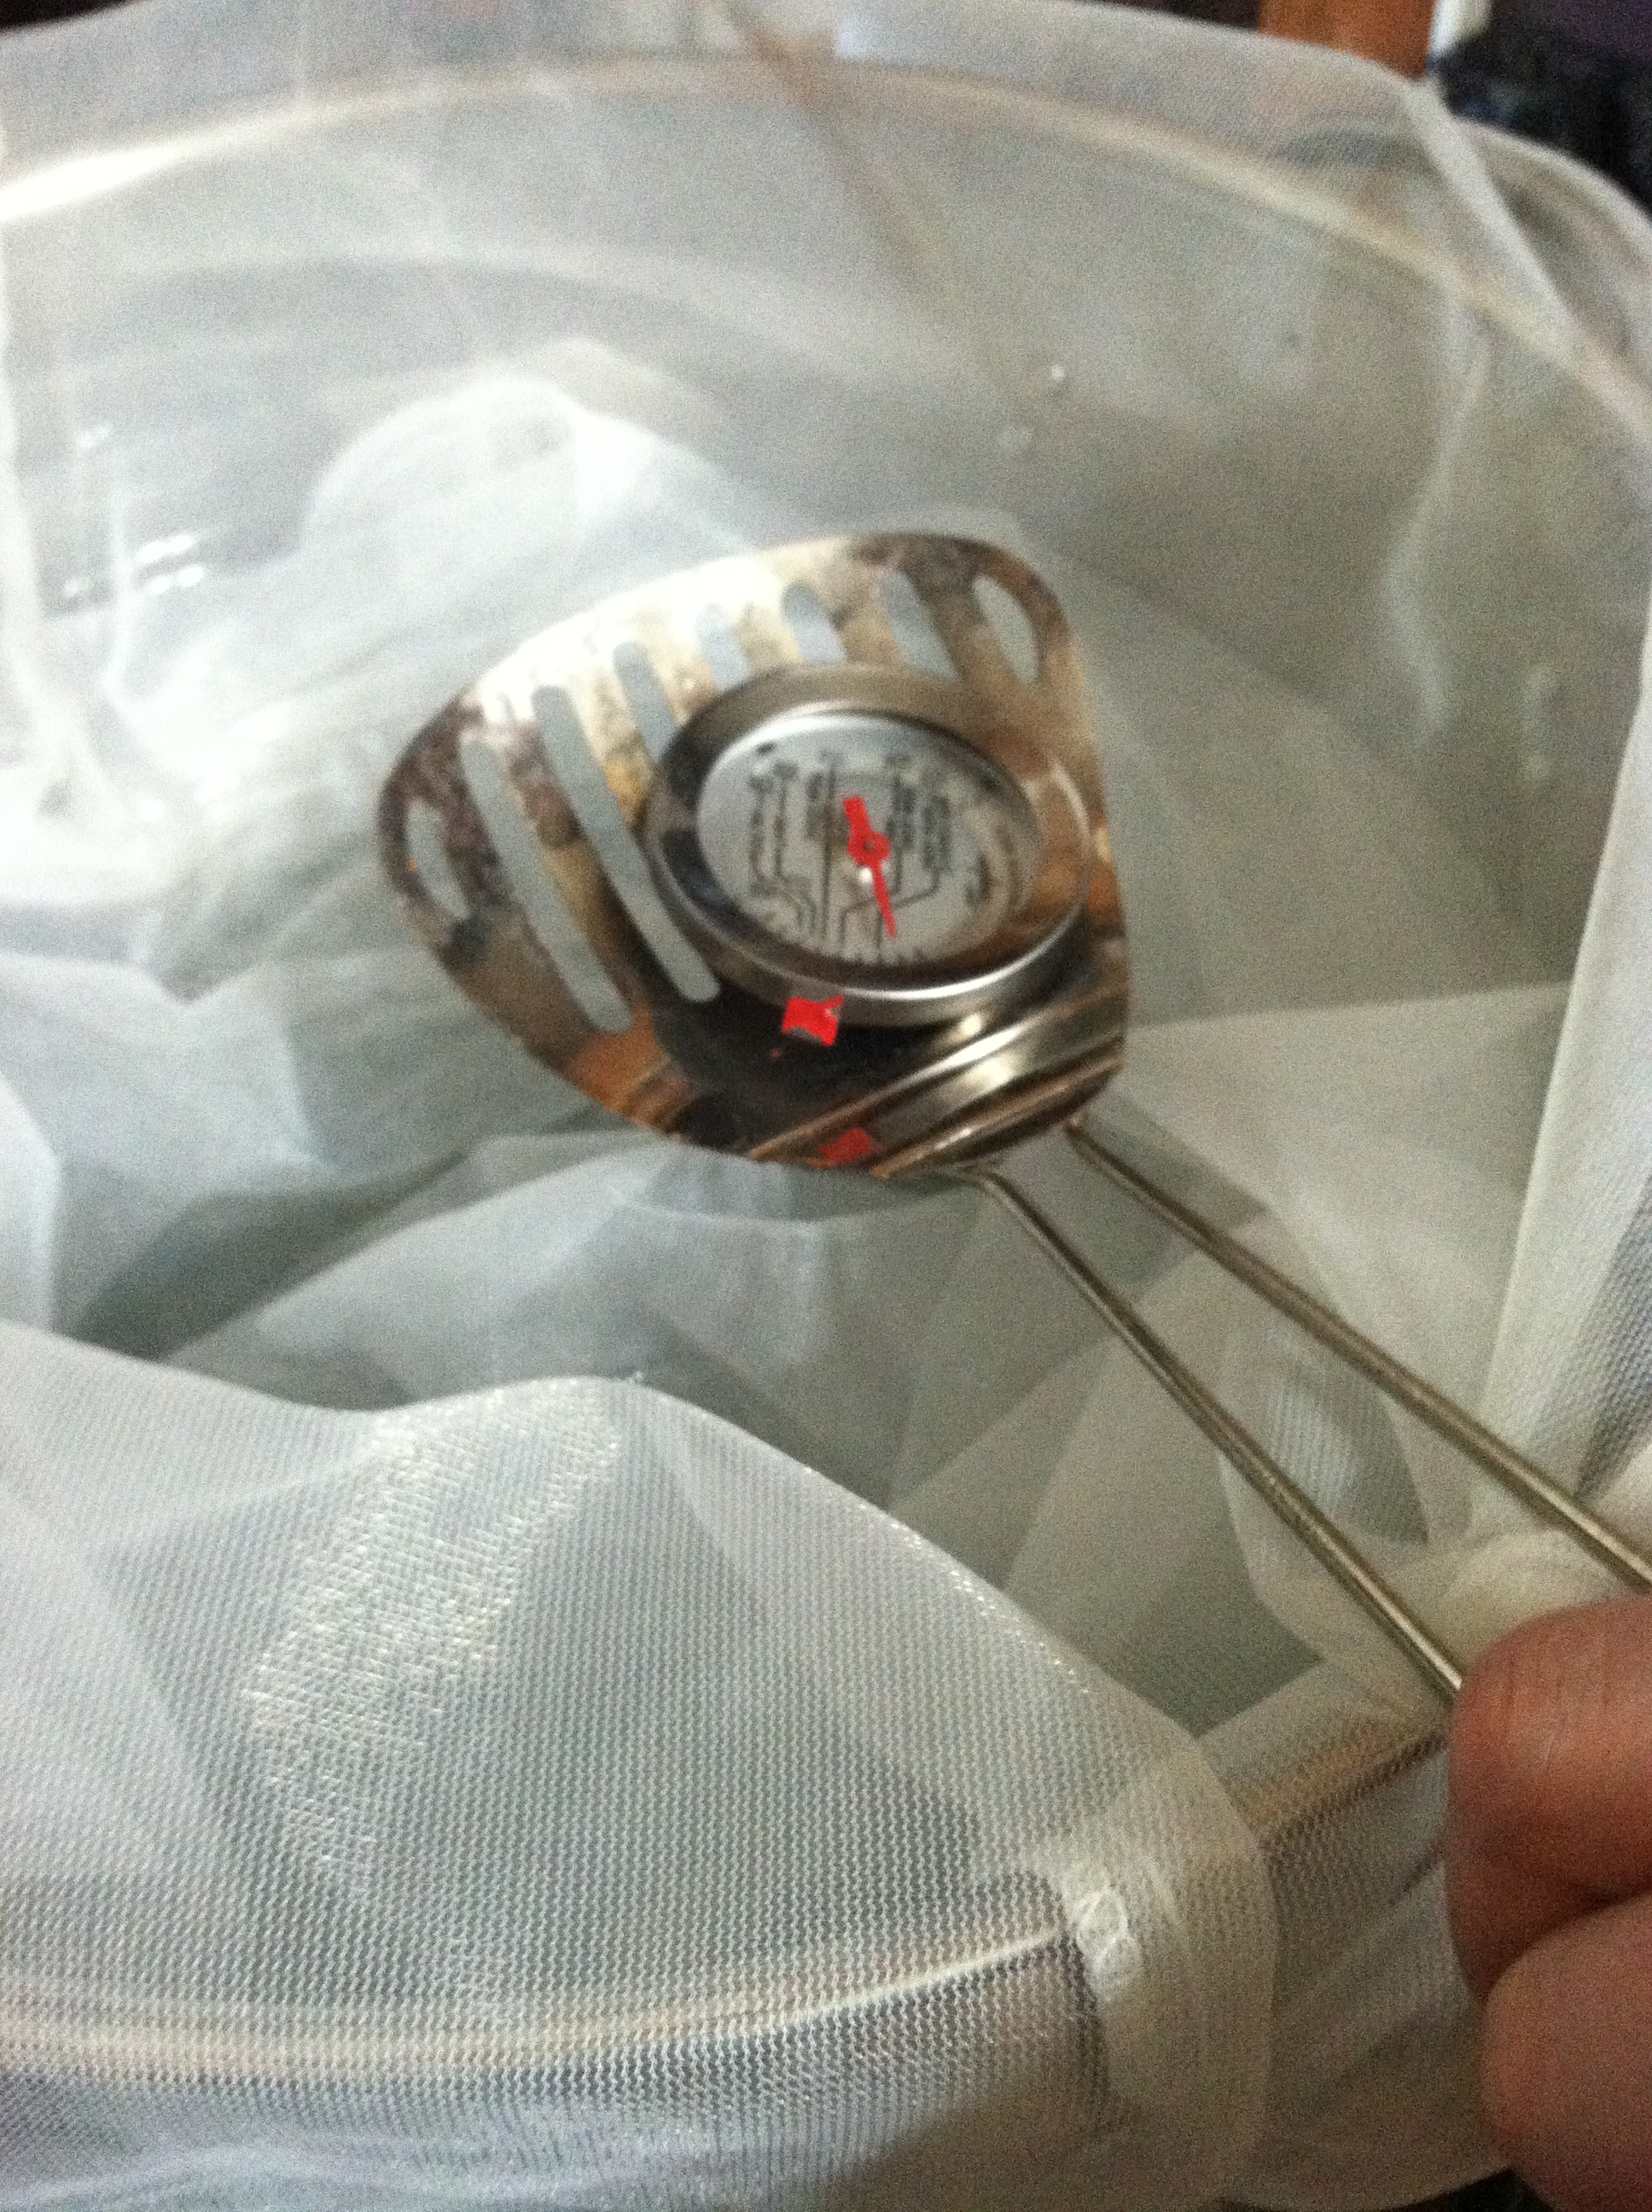
    Step #7: After this final ingredient, agitate your must one more time. Use the wine thief to grab a sample of your mead for a specific gravity test. You need to get a initial and final specific gravity to determine the approximate alcohol content of the mead. The hydrometer should have a chart and instructions for determining alcohol content.

    Specific Gravity

    Unfortunately, I wasn’t able to get an accurate read on the initial specific gravity because I am a dumbass and dropped my hydrometer.  Instead, I tried to use a fish tank hydrometer (for measuring SG of salt water tanks) to get a read, but it was very inaccurate.

    Broken Hydrometer :(

    Step #8: Remove the stopper and airlock from the sanitization bath and insert into the top of your carboy. Be sure to fill the airlock with water to the designated line, and also be sure to check on the water level as fermentation goes on, to make sure there is enough water to keep the airlock.

    Airlock and ready to go

    And that’s it! Be sure to keep your mead in a place that is 70° – 75°F, as this is the optimum temperature for fermentation. On-glass aquarium thermometers (the kind you see on fish tanks) come in handy for tracking the temperature of your must.

    Temperature

    Keep your mead someplace with a decent amount of light and average room temperature.

    Finished

    Within 24-48 hours you should see fermentation as seen in the below video. This can last somewhere between one to three months depending on which strain of yeast used.

    [youtube=http://www.youtube.com/watch?v=KU8oc1fY7hs&w=640&h=390]

    If you have any questions, feel free to email me. Thanks go out to Thomas Merritt for helping my put together these two wonderful specimens; it really does help having a partner to brew with.

    Cheers!

    Cheers!

    Used with permission from Matt Ponkey.  You can find the original post at http://www.mwponkey.com/2010/05/brewing-mead-part-2-starting-your-mead.html.  Contact the author to obtain permission for republication.